

It’s not just your technique
White gel polish is one of the most frustrating colors to work with. It streaks, looks uneven, cures chalky, or comes out patchy even if you’ve been careful. Meanwhile, a deep burgundy or rich black glides on smoothly and almost effortlessly. If you’ve ever wondered why white gel polish looks patchy while darker shades behave so much better, the answer is rooted in science, not craftsmanship. When you understand that difference, everything changes.
What coverage actually means for gel polish
Opacity describes how much light passes through a material. A very opaque product will block most of the light that hits it. A transparent product allows light to pass through freely.
White gel polishes are at the very high end of the coverage scale. To achieve that solid, bright white finish, manufacturers load the formula with a significant amount of white pigment. That heavy pigment load is exactly what makes white gel so visually striking. But it also changes the way the product behaves during application and curing in a way that no other color closely mimics.
Think of it as white wall paint. Anyone who has repainted a wall knows that white almost always requires more coats than a mid-tone color. The same principle applies to your nails.
The role of titanium dioxide
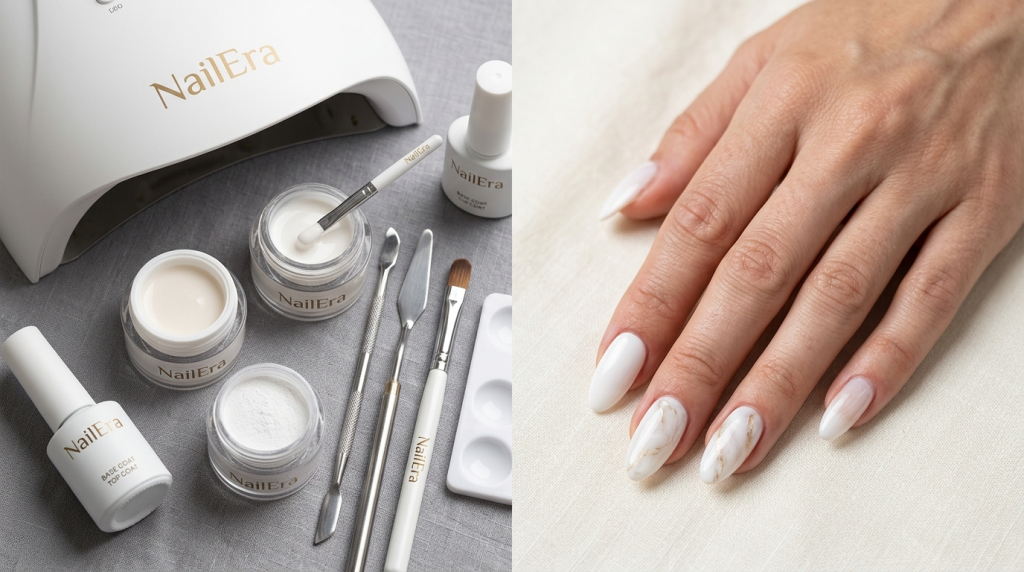
The pigment responsible for most white nail products is titanium dioxide. It is one of the most effective light-reflecting substances used in cosmetics and coatings. It gives white gel that fresh, bright, solid look that makes it so popular for French tips, minimalist looks and striking nail art. According to the Environmental Working Group’s Cosmetic Ingredients Database, titanium dioxide is one of the most commonly used pigments in personal care products precisely because of its exceptional opacity and light-diffusing properties.
But titanium dioxide has disadvantages. At high concentrations it makes the formulas thicker and more viscous. It can also cause pigment particles to settle unevenly in the gel, especially if the product has been sitting for a while or if someone hasn’t mixed it properly. When the pigment sits unevenly, brushstrokes leave visible ridges. These ridges are why white gel polish looks patchy, even when application feels smooth.
The same light-reflecting power that makes white so vibrant also makes every little imperfection visible. This brings us to the most important part of science.
Why white reflects every mistake
White reflects large amounts of visible light. When light hits a perfectly smooth white surface, it reflects evenly and the finish looks clean. But if the surface has even minor ridges, stripes, or variations in thickness, those areas reflect light at slightly different angles. Your eye immediately picks up those differences.
Compare that with black. Dark colors absorb more light rather than reflecting it, meaning surface variations are much less visible. A slightly uneven black gel application can look flawless. The same imperfection on white gel looks like a streak or a spot.
White does not necessarily apply worse than other colors. It simply reveals imperfections more easily.
That distinction is extremely important, because the product itself shares responsibility for what you see, not just the hand holding the brush.
Thick layers and curing problems
When hardened, white gel can cause an additional layer of problems. UV and LED lamps work by sending light through the gel to activate photoinitiators, which start the hardening process. When a layer is thin and relatively translucent, light passes through easily and the product cures evenly from top to bottom.
White gel is different. That dense pigment load blocks light. A thick white layer may prevent the lamp from fully penetrating the lower part of the product. The surface may feel hardened, but the base of the layer remains soft. This leads to wrinkling, patchiness and an inconsistent finish that looks uneven even after wiping off the inhibition layer.
Thin, even coats are more important with white than with almost any other color. The science of light penetration makes that a strict requirement, not a suggestion.
Why white gel can look chalky
Chalking is a separate but related problem. When white gel contains a very high concentration of pigment particles, the surface can take on a matte, dusty appearance instead of a clean finish.
Overloading the gel disrupts the product’s ability to self-level. Gel has a natural tendency to flow and settle on a smooth surface if you leave it alone. Going over an area too many times or pressing too hard with the brush will create micro-ridges. Those ridges scatter the light in multiple directions instead of reflecting it neatly, and that creates the flat, chalk-like appearance.
The smoother the surface, the smoother the reflected light. That is the easiest way to understand why technology and product behavior are so closely related to working with white.
Why some white gels behave better than others
Not all white gel polishes are the same, and this is where brand differences really become important. Different manufacturers use different pigment loads, viscosity levels and hanging systems to evenly distribute the pigment throughout the formula. Some brands also use different photoinitiator systems, which will affect how the product reacts to your specific lamp.
In addition, white gels often serve different purposes. A white gel intended for nail art, such as the kind used in detailed gel nail designs, typically has a different formula than a full-coverage white gel designed for a clean, opaque finish in one or two coats. A French tip white is often thinner and slightly translucent to fade at the smile line. Treating all white gels the same will produce inconsistent results because they are really not the same product.
Understanding what your particular white is designed for is just as important as how you apply it.
This is also why switching brands can sometimes feel like starting all over again.
Technology is important, but so is the product
A light hand with the brush, thin coats, and letting the product even out on its own rather than chasing it around the nail all support better results with white gel. Avoiding overloading the product and allowing each thin layer to fully cure before applying the next are habits that science directly supports.
But if your white gel looks patchy or streaky, that’s not automatically a technique error. White gel is scientifically more demanding than almost any other color you will use. That’s no excuse to skip good habits. It’s just the truth why white gel is difficult to apply cleanly, even for people who have been doing nails for years.
The physics of light, the chemistry of titanium dioxide, and the way opacity affects curing all interact with white gel in ways that simply don’t apply to darker shades. Knowing that, you can approach the product with the right expectations.
White gel polish is a fascinating example of how chemistry, light and perception all come together in one product. Once you understand the opacity and pigment behavior, the patchiness stops feeling random and starts making perfect sense. That insight forms the basis for consistently better results.
Getting familiar with white gel takes more than practice. You need to know why the product behaves the way it does, and then build a technique around that knowledge instead of fighting against it.
White gel rewards those who understand its peculiarities. But translating that insight into clean, even results on your own nails takes more than just reading about the science. It requires guided, structured learning from people who have lived through exactly these challenges.
If you want to delve deeper into the science and technique behind applying white gel, MyNailEra offers in-depth guidance from 12 award-winning nail artists who explain exactly how to work with challenging products. Era, your personal nail coach, can also give you feedback on your own results through the Upload and Critiques feature, so you can see exactly where your application is working and where you can adjust it.